“Gone are the days of crouching over a fly-infested horror bucket while reevaluating your life choices. It’s Year 3 (or you just have standards now), and it’s time to build a compost toilet that says:
“Yes, I live off-grid — but I also respect myself.”
This isn’t about survival. This is about sanitary throne-building.”
💩 Step 1: Understand How Compost Toilets Work (It’s Not Magic, It’s Biology)
Humanure is like a bad roommate: it needs airflow, moisture balance, and time to stop being disgusting.
The process:
- You poop. (Congratulations.)
- You cover it with carbon (sawdust, leaves, peat moss, shredded shame).
- It composts slowly in a bin or pile over months.
- Pathogens die, it becomes soil, and you cry tears of carbon-neutral joy.
Key principles:
- Separation = less smell
- Aeration = composting success
- Heat + time = no disease, lots of mulch
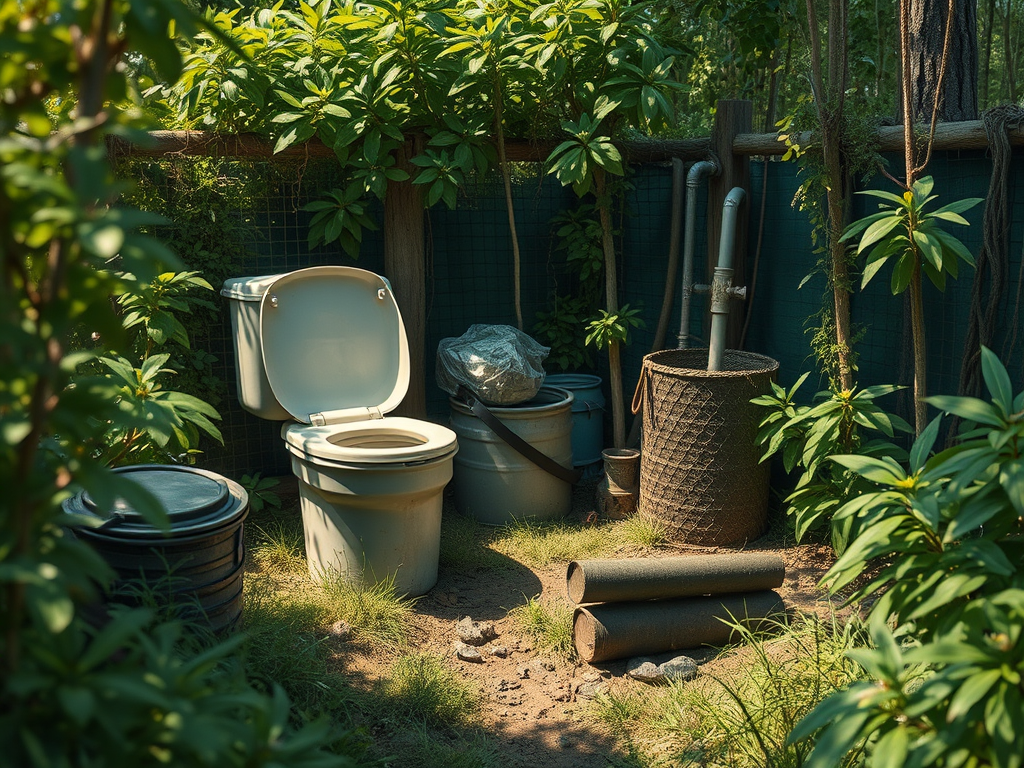
🪚 Step 2: Build or Buy a Real Unit (No More 5-Gallon Shame Buckets)
💼 Fancy Pre-Built Options:
- Nature’s Head: urine-diverting, crank-happy, boat-vibe aesthetic
- Separett: sleek Swedish plastic throne
- Air Head: smaller footprint, still a spaceship toilet
Pre-built units cost $$$, but they’re plug-and-play. If you want “elegant pooping with minimal effort,” this is your lane.
🪵 DIY Compost Throne:
Build a wooden box with:
- Toilet seat (luxury!)
- Bucket inside (removable)
- Urine diverter (optional, but life-changing)
- Ventilation pipe (with fan if you’re extra)
Make it:
- Stable
- Easy to clean
- With a lid that doesn’t fall on you mid-squat
Then decorate it like royalty. Throw in a magazine rack, a little curtain. Live a little.
🧪 Step 3: Urine Diversion = No Smell, Less Liquid, More Winning
Urine is 90% of your bathroom problems. Separate it, and the smell basically goes away.
Options:
- Buy a diverter (cheap or 3D printed)
- Funnel setup into a separate jug or drain pipe
- Use it diluted as fertilizer on non-edible plants (yes, it’s a thing)
Still too much info? Sorry. This is compost glamor, not denial.
🪵 Step 4: Cover Material: The Unsung Hero of Dignity
You don’t just “go.” You go, then cover.
Cover with:
- Sawdust (top-tier, fine, absorbent)
- Dry leaves (free, flaky, crunchy ambience)
- Coconut coir or peat moss (fancy but $$$)
- Shredded paper (if you hate trees and love clogs)
Golden Rule: always keep a bucket of cover material next to the throne. And use more than you think you need. If you see it, smell it, or think about it too long—you didn’t add enough.
🌡️ Step 5: Composting the Humanure (Yes, It’s a Real Word)
You’ve got your bucket full. Now what?
Outdoor compost bin rules:
- Keep separate from garden compost
- Let it sit for 1–2 years
- Cover each deposit with more carbon
- Build in layers like a gross lasagna
- Never add meat, dairy, or anything that might attract raccoons with ambitions
After it breaks down and smells like forest dirt? You win. Use it on ornamental plants, trees, or non-edible beds.
Don’t spread it on your tomatoes unless you’ve got an iron gut and no friends.
🧼 Step 6: Cleaning and Maintenance (The Throne Must Be Honored)
- Empty buckets regularly. You’ll know when.
- Wash with vinegar or biodegradable soap.
- Replace any cracked parts. Don’t duct tape your dignity.
- Ventilation system = clean out fan or pipes seasonally
- Deep clean once a month or more if you’re civilized
And yes, have a hand-washing station. This isn’t medieval cosplay.
Final Thought
Your compost toilet can be clean, odorless, elegant, and empowering. Or it can be a haunted bucket in a spider-filled shack.
You choose.
Build something you’re proud to sit on. Add a curtain. Hang up a sign. Make a playlist.
You’re doing nature’s business. Might as well do it with style.
[Join the Community to explore our free Resource Base]

Leave a comment